Updated: December 19, 2025
If you’ve set up Google Ads conversion tracking and noticed some conversions just aren’t showing up in your reports, there’s a good chance the Conversion Linker is the missing piece. It’s one of those small tags that people often overlook — but without it, your attribution can break in ways that are hard to diagnose.
Let’s get into it!
What Is the Conversion Linker?
The Conversion Linker tag is a small but mighty tag in Google Tag Manager. Its job is straightforward: when a user lands on your site after clicking a Google Ads ad, the URL contains click identifiers like gclid (for Google Ads) or dclid (for Display & Video 360 campaigns). The Conversion Linker detects those identifiers and stores them in first-party cookies:
- _gcl_aw — stores the Google Ads click identifier (gclid). This is what makes sure a purchase three pages later still gets attributed to the right ad click.
- _gcl_dc — stores the click identifier for Display & Video 360 and Google Display Network campaigns.
Think of it as a bridge. The ad click happens on page one, the conversion happens on page three, and the Conversion Linker makes sure those two moments are connected even though the user navigated through multiple pages in between.
Why You Need It: The ITP Problem
Here’s where things get tricky. Apple’s Intelligent Tracking Prevention (ITP) aggressively blocks third-party cookies in Safari. Google Ads traditionally relied on those third-party cookies for conversion attribution. So what happens? A user clicks your ad in Safari, browses your site, converts — and that conversion goes untracked because the identifier got wiped.
That’s where the Conversion Linker saves the day. By storing the click information in first-party cookies (_gcl_aw and _gcl_dc), ITP can’t touch them. Your conversions stay attributed correctly, even on Safari.
When Do You Need the Conversion Linker?
There’s one important exception worth knowing about.
If you implemented GA4 and Google Ads conversion tracking using the gtag.js library, you’re already covered. The Google tag includes the Conversion Linker functionality built in, so no separate setup is needed.
For everyone else — and that’s most GTM setups — the answer is simple: yes, you need it.
How to Install the Conversion Linker in GTM
This is probably the easiest tag you’ll ever set up in GTM.
In GTM,click 「Tags」——「New」——「Choose a tag type to begin setup…」in GTM, then search for “Conversion Linker” in the tag type picker.
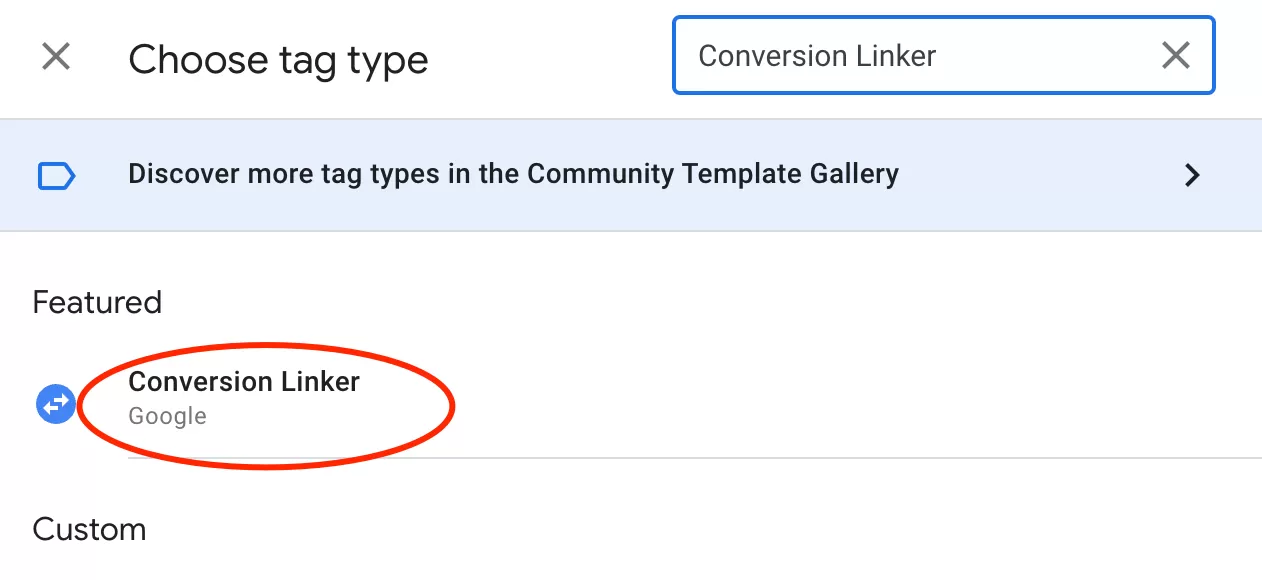
Click to install it and select All Pages as the Triggers:
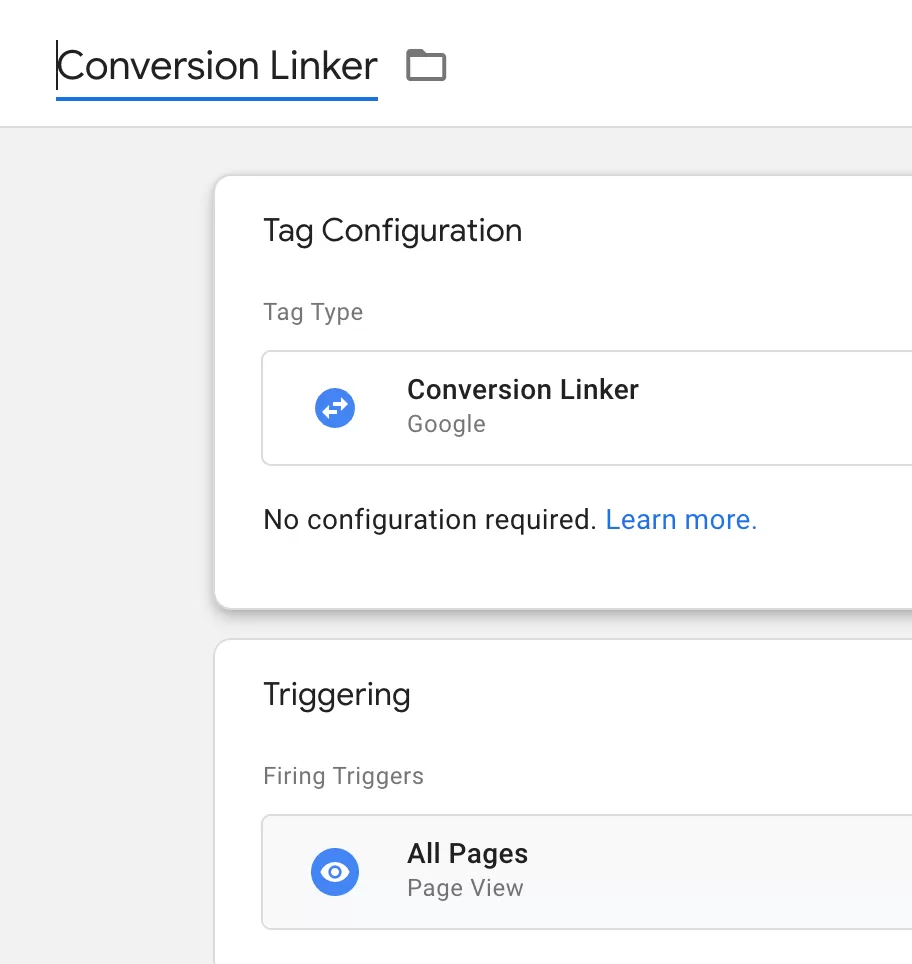
If you’re thinking “that can’t be it,” you’re right that it’s suspiciously simple, but that really is the whole setup.
The Advanced Options (You Probably Don’t Need These)
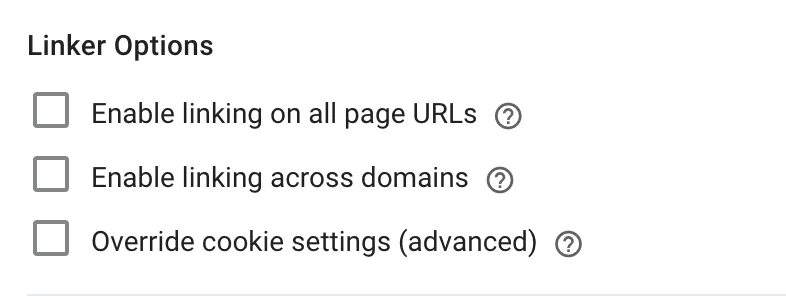
The Conversion Linker has three optional settings. Here’s when you should actually touch them:
Final Words
The Conversion Linker is one of those things that feels like a checkbox exercise until it’s missing — then your conversion numbers stop making sense and you spend hours trying to figure out why.
Here’s the cheat sheet:
- If you’re using gtag.js, you’re fine — no action needed.
- If you’re using GTM, install the Conversion Linker tag on All Pages. That’s it.
- Only touch the advanced options if you’re dealing with cross-domain tracking or unusual cookie requirements.
I hope this article helped you get your conversion tracking sorted. If you have questions about your specific setup — drop a comment below.