Update time: January 12, 2025
This article introduces how to use ga-data attributes method to do custom event tracking.
If you need to track events at multiple locations, you can add ga-data attributes to different locations and assign different values to different locations. You only need to configure one Tags to track events in batches.
Now we need to track events at these three locations, and see how to set them using the ga-data attribute:
Step 1 : Add ga-data Attribute
Add ga-data attributes to the page, and add different values to different locations.
The source code before adding is as follows:
The effect after adding is as follows:
Note: If you do not have development permission, please ask DE to help you complete this step.
Step 2 : Get ga-data Attributes in GTM
First, In GTM , click「Variables」——「New」——「Choose a variables type to begin setup…」——「Auto-Event Variable」,Name it “element”, and make the following settings:
Then, click「Variables」——「New」——「Choose a variables type to begin setup…」——「Custom JavaScript」,Name it “Get ga-data”, and make the following settings:
Source Code :
function() {
	var elem = {{element}},
	    attr = "ga-data", // change this to the attribute that you want to get
        result = (elem.getAttribute && elem.getAttribute(attr)) || null;

	if( !result ) {
		var attrs = elem.attributes,
			l = attrs.length;
		for(var i = 0; i < l; i++) {
			if(attrs[i].nodeName === attr)
				result = attrs[i].nodeValue;
                }
	}

	return result;
}
Step 3 : Set Up a Lookup Table
In GTM , click「Variables」——「New」——「Choose a variables type to begin setup…」——「Lookup Table」,Name it “Lookup Table ga-data”, and make the following settings:
Convert the specific values in the attributes of the ga-data obtained earlier into corresponding specific behaviors. Generally, the numerical range is constructed in sequence to facilitate determining the triggering conditions when setting the Trigger later.
Step 4 : Set Up the Trigger
In GTM , click「Triggers」——「New」——「Choose a trigger type to begin setup…」——「Click – All Elements」,Name it “ga-data Trigger”, and make the following settings:
Triggered only when ga-data is greater than or equal to 100.
Step 5 : Set Up the Tags
In GTM , click「Tags」——「New」——「Choose a tags type to begin setup…」——「Google Analytics: GA4 Event」,Name it “GA4-Event-Click(ga-data)”, and make the following settings:
Step 6 : Preview and Publish
The event is triggered normally. Click Open to confirm whether the event parameter position is correct:
The event fires as expected and can be published.
Read More:
Step 7 : Custom Definitions
The next step is to register event parameters position, if you want to use it in GA4, you need to register it in the Custom definitions of GA4.
In GA4,click「Admin」——「Custom definitions」——「Create custom dimension」, then do the following configuration:
Step 8 : Verify Data in Reports
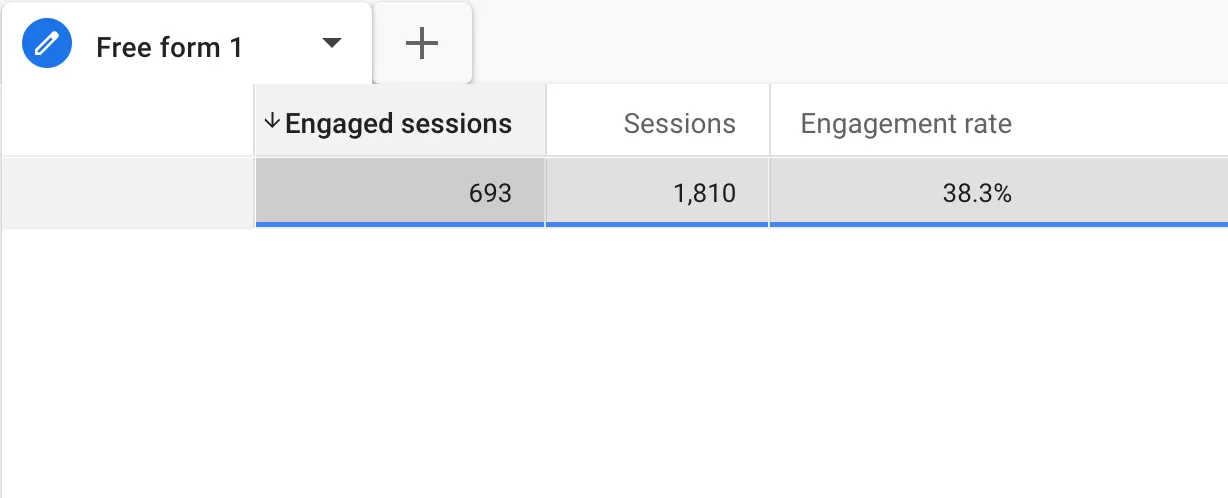
Generally, after 24 hours, we can see the data in GA4, such as:
Read More:
- GA4 Event Tracking Series ⓪ —— Rules and Limits for GA4 Events
- GA4 Event Tracking Series ① —— Automatically Collected Events
- GA4 Event Tracking Series ② —— Enhanced Measurement Events
- GA4 Event Tracking Series ③ —— Recommended Events
- GA4 Event Tracking Series ④ —— Custom Events (gtag Method)
- GA4 Event Tracking Series ⑤ —— Custom Events (Attributes Method)
- GA4 Event Tracking Series ⑦ —— Custom Events (addEventListener Method)
- GA4 Event Tracking Series ⑧ —— Custom Events (jQuery Method)
- GA4 Event Tracking Series ⑨ —— Custom Events (ga-data Method)
- GA4 Event Tracking Series ⑩ —— Custom Events (dataLayer.push Method)
- GA4 Event Tracking Series ⑪ —— Create Event(Codeless Event Tracking)
- GA4 Event Tracking Series ⑫ —— Modify Event


