Update time: March 19, 2026
If you’re moving beyond traditional client-side tracking, implementing Adobe Analytics via the Web SDK is one of the most powerful upgrades you can make.
It enables:
- Better data accuracy
- Improved performance
- More control over data collection
- Seamless integration with Adobe Experience Platform
In this guide, I’ll walk you through a complete, practical setup — from XDM schema to data validation.
The data flow looks like this: Website → Web SDK → Datastream → Adobe Analytics
Step 1:Create an XDM Schema
In Adobe Launch, click 「Schemas」——「Create schema」——「Manual」——「Experience Event」,named BCS Event Data:
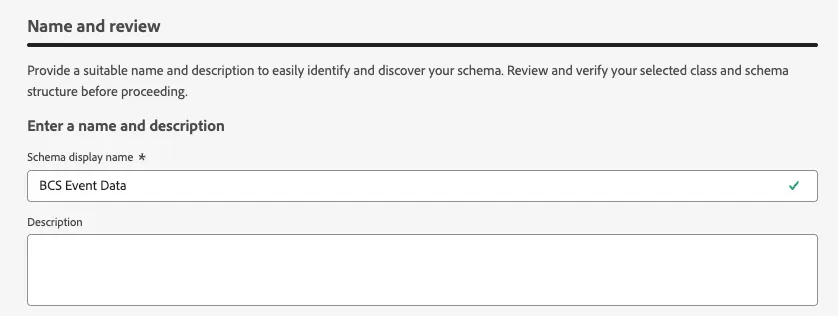
Once completed, you can see the schema configuration page:
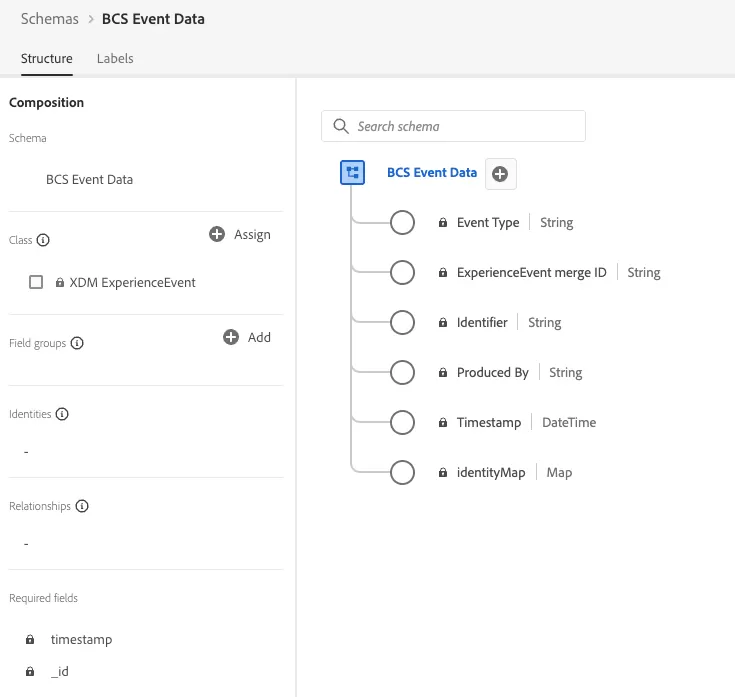
You can either build a custom XDM schema or use a predefined one. In this guide, we’ll use the built-in Consumer Experience Event, which is the simplest option and automatically handles some of the field mappings for you.
Click Add under Field Groups and search for Consumer Experience Event

Once added, you’ll have a basic XDM schema ready to use.

Notes: This schema is primarily used for page view tracking. If you also need to track eVars, props, or events, it is recommended to include the Adobe Analytics ExperienceEvent Full Extension.
Step 2:Create a Report Suite
In Adobe Analytics, Click 「Admin」——「Report Suite Manager」——「Create New」——「Report Suite」to set up a new report suite.

Configure the basic settings such as Report Suite ID, Name, Time Zone, and Currency based on your business requirements.
Once created, make sure to note down the Report Suite ID, as it will be required for the subsequent implementation steps.
Step 3:Create Datastreams
Click 「Datastreams」——「New Datastreams」:
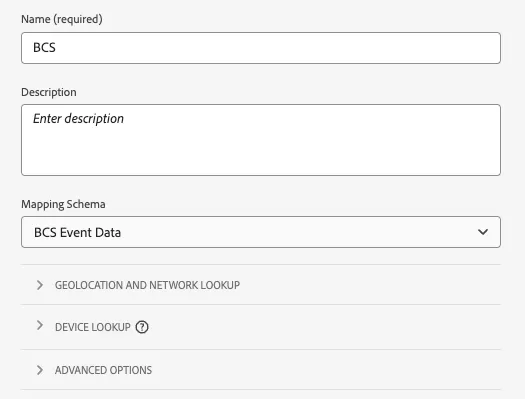
Configure it as follows:
- Name: BCS
- Event Schema: Select the XDM schema created earlier
Click Save, click 「Add Service」:
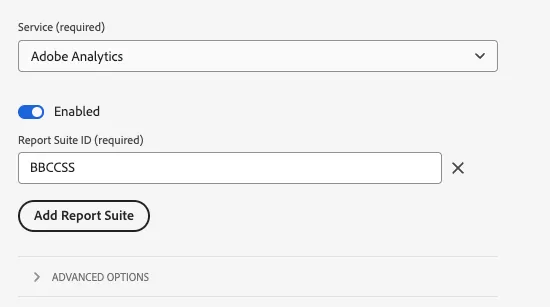
Configure:
- Service: Select the Adobe Analytics
- Report Suite ID: Your target report suite
Save the configuration.
Step 4:Install Web SDK
In Tag,click 「Tags」——「Extensions」——「Catalog」,Search for and install Adobe Experience Platform Web SDK.
Most settings can remain as default. The key configuration is the Datastream, which determines where your data is sent (via the Edge Network).
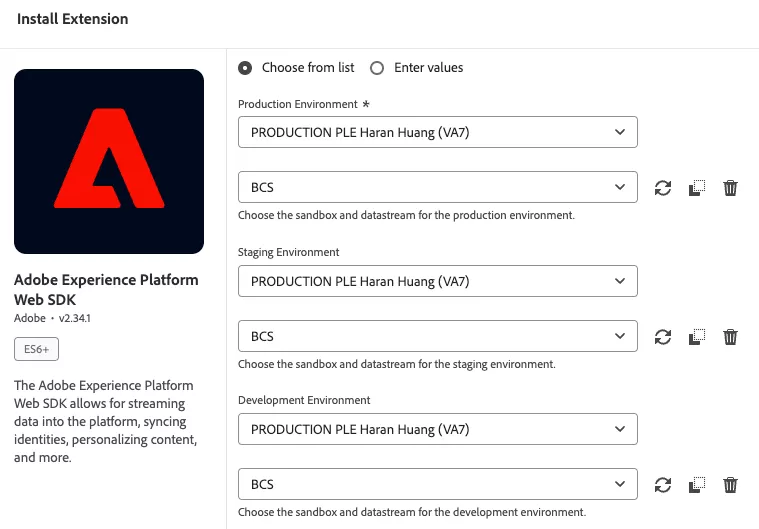
In this example, all environments (dev/test/prod) send data to the same datastream (BCS).
In a real-world setup, it’s recommended to create separate datastreams for each environment.
Step 5:Send Data
There are multiple ways to trigger data collection, including:
- sendEvent
- Custom Events
- DCR (Data Collection Rules)
- ACDL / EDDL
In this guide, I use digitalData and Custom Events. When the page loads, I first generate digitalData and then send Custom Events.
window.digitalData = {
    "page": {
        "pageInfo": {
            "pageName": "hk:mobile:smartphones:galaxy s:Galaxy S26 Ultra",
            "pageUrl": "/",
        },
    },
};
Example of Custom Events:
document.dispatchEvent(new Event("pageViews"));
Step 6:Configure Data Elements
The data sent in the previous step needs to be captured using Data Elements.
Click 「Data Elements」——「Add Data Elements」,then do the following configuration:
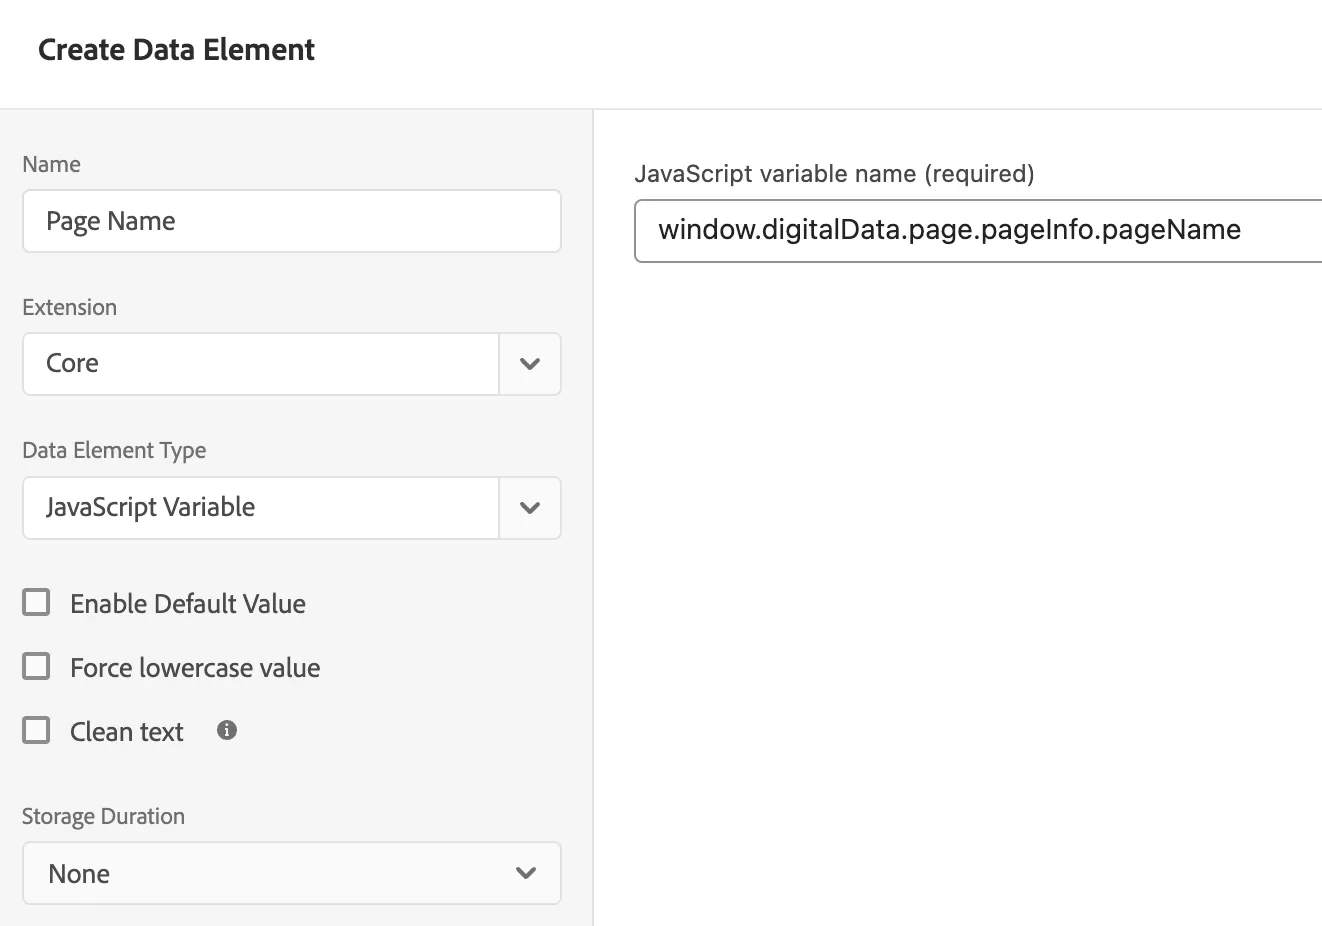
Similarly, set the Page URL.
The next step is to set the mapping, create a Data Element, name it “xmd.event.data”:
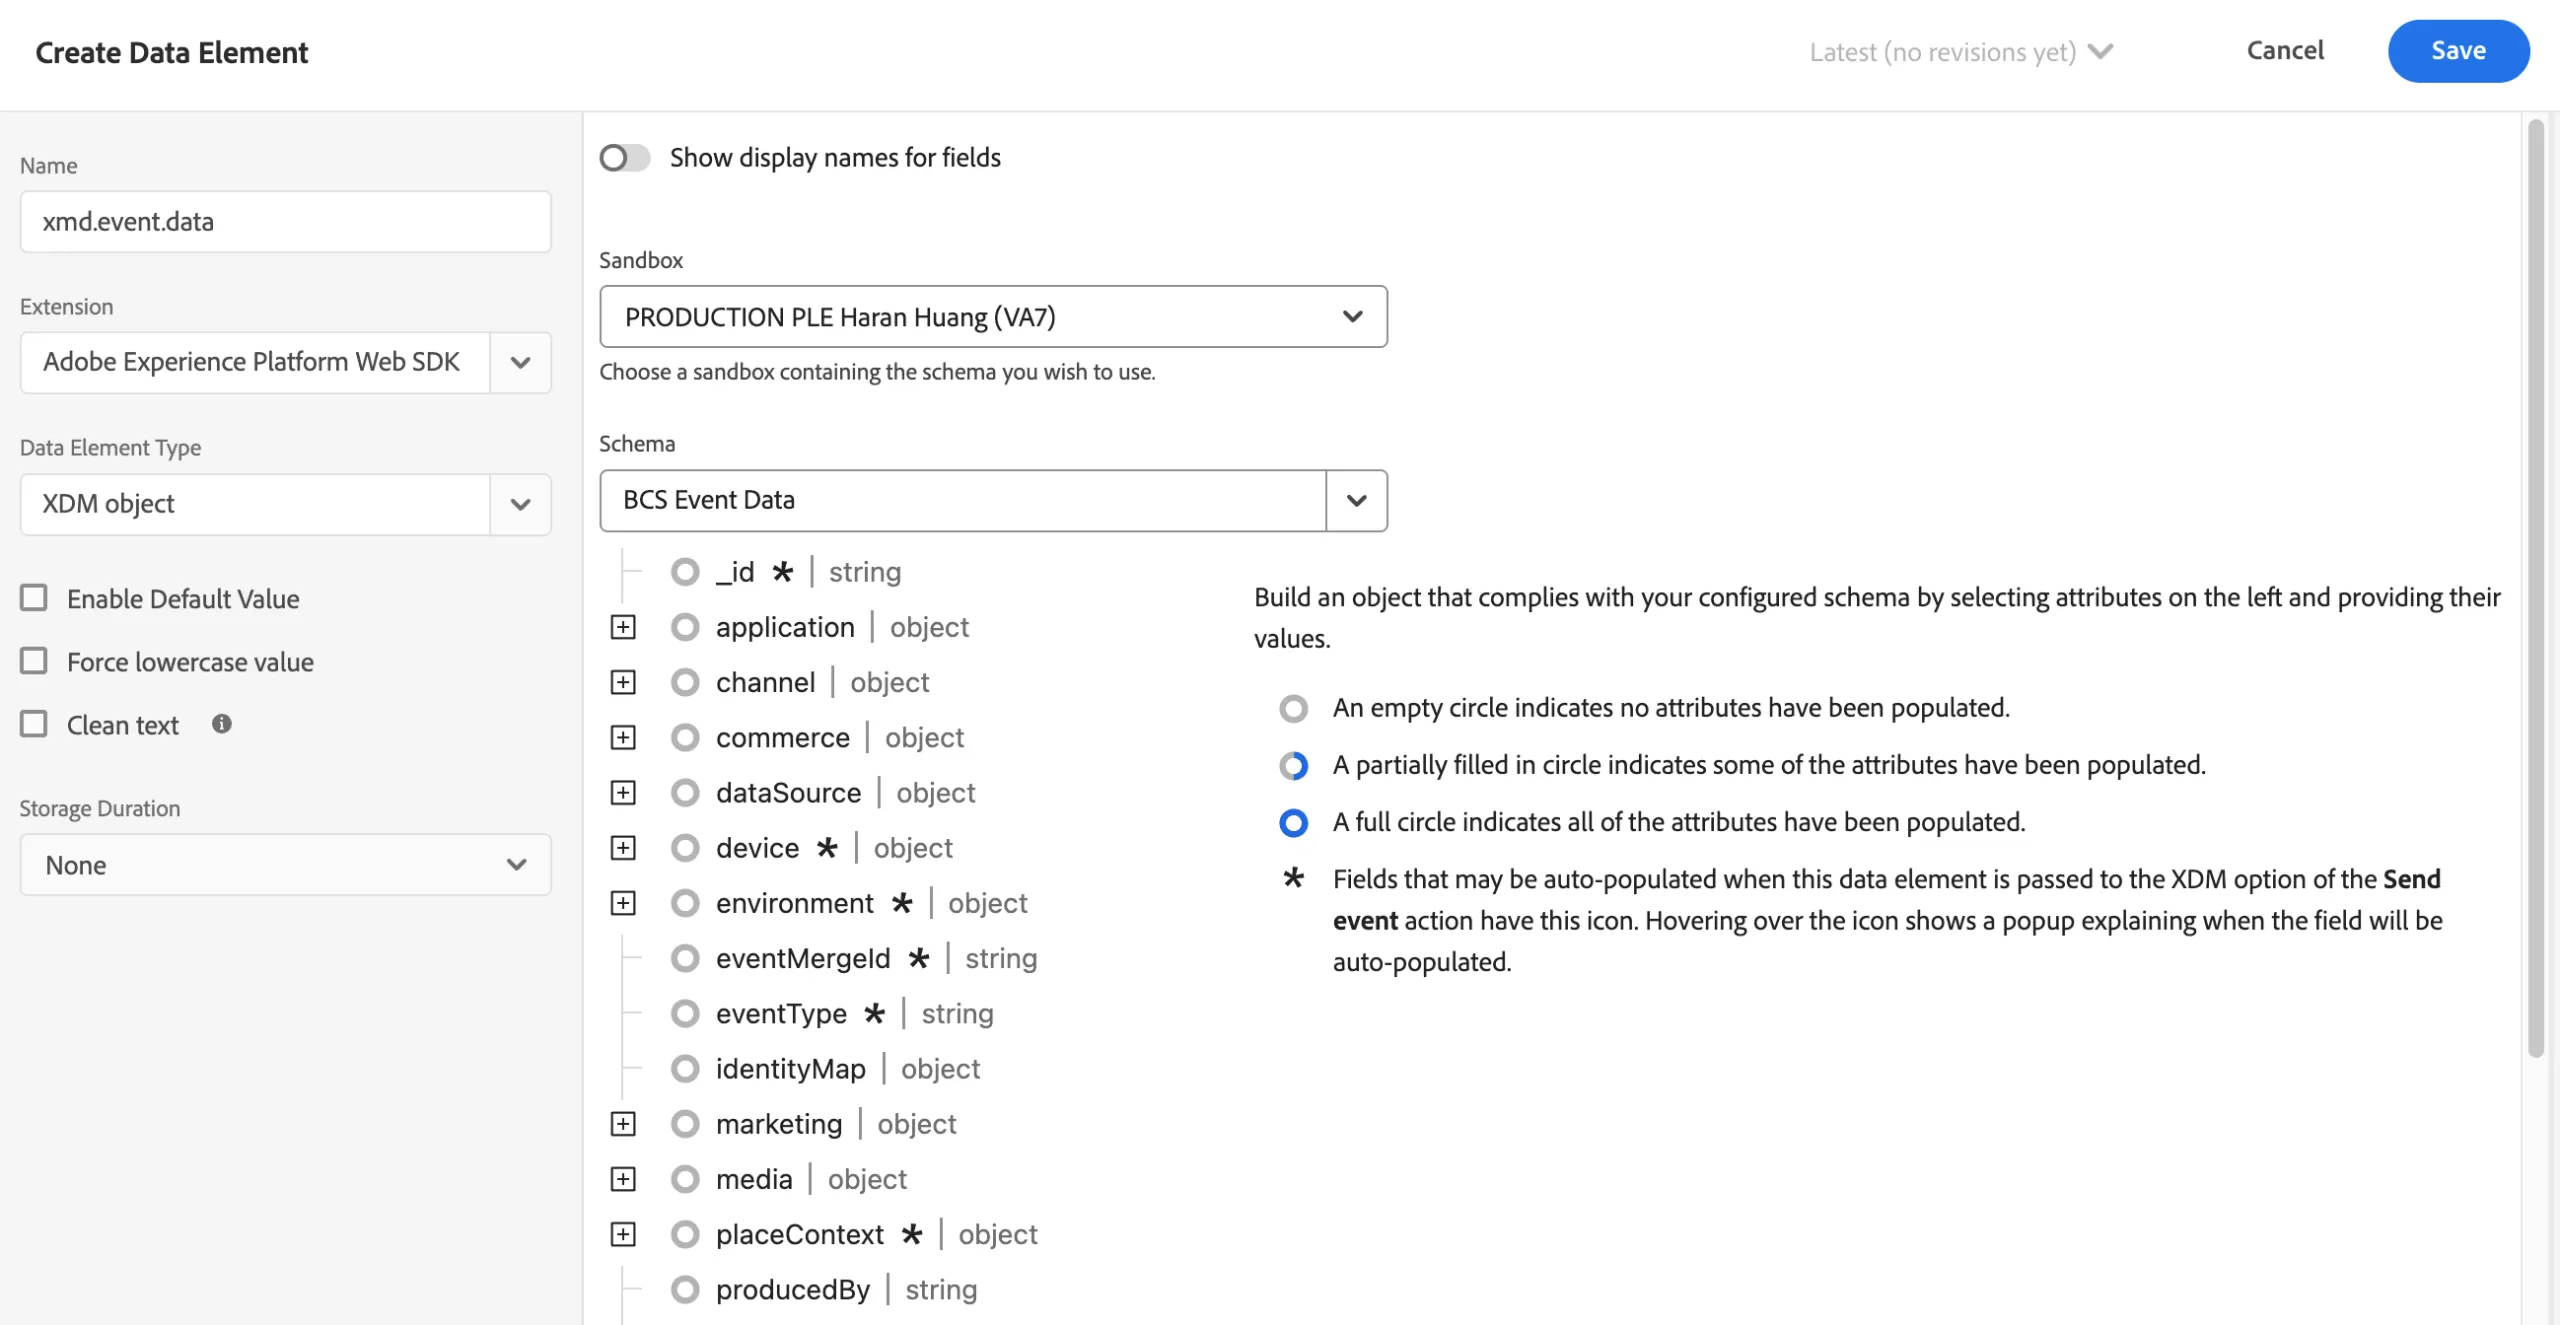
Configure it in the web.webPageDetails section of the schema.
Set pageViews.values to 1, which used to explicitly record a single page view count and enable it to be mapped to the Page View metric in Adobe Analytics.
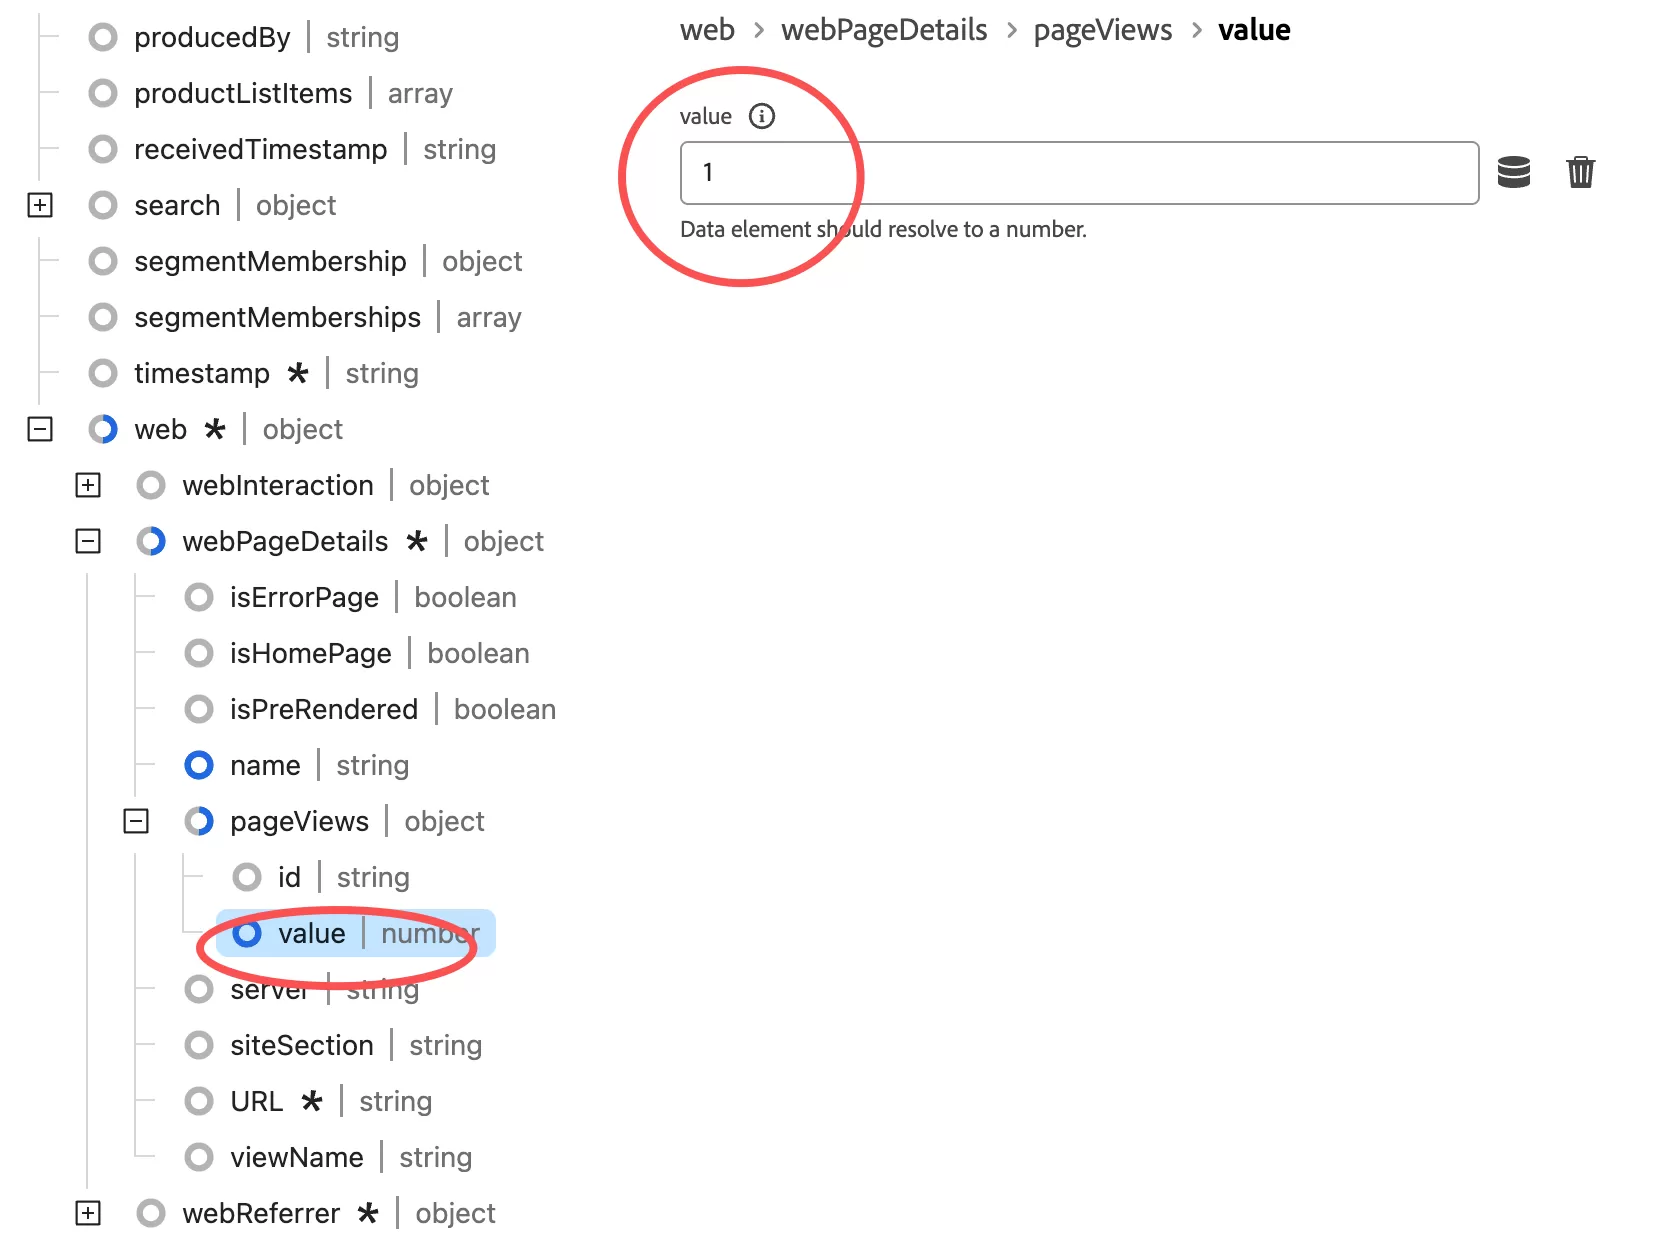
set name to %Page Name%:
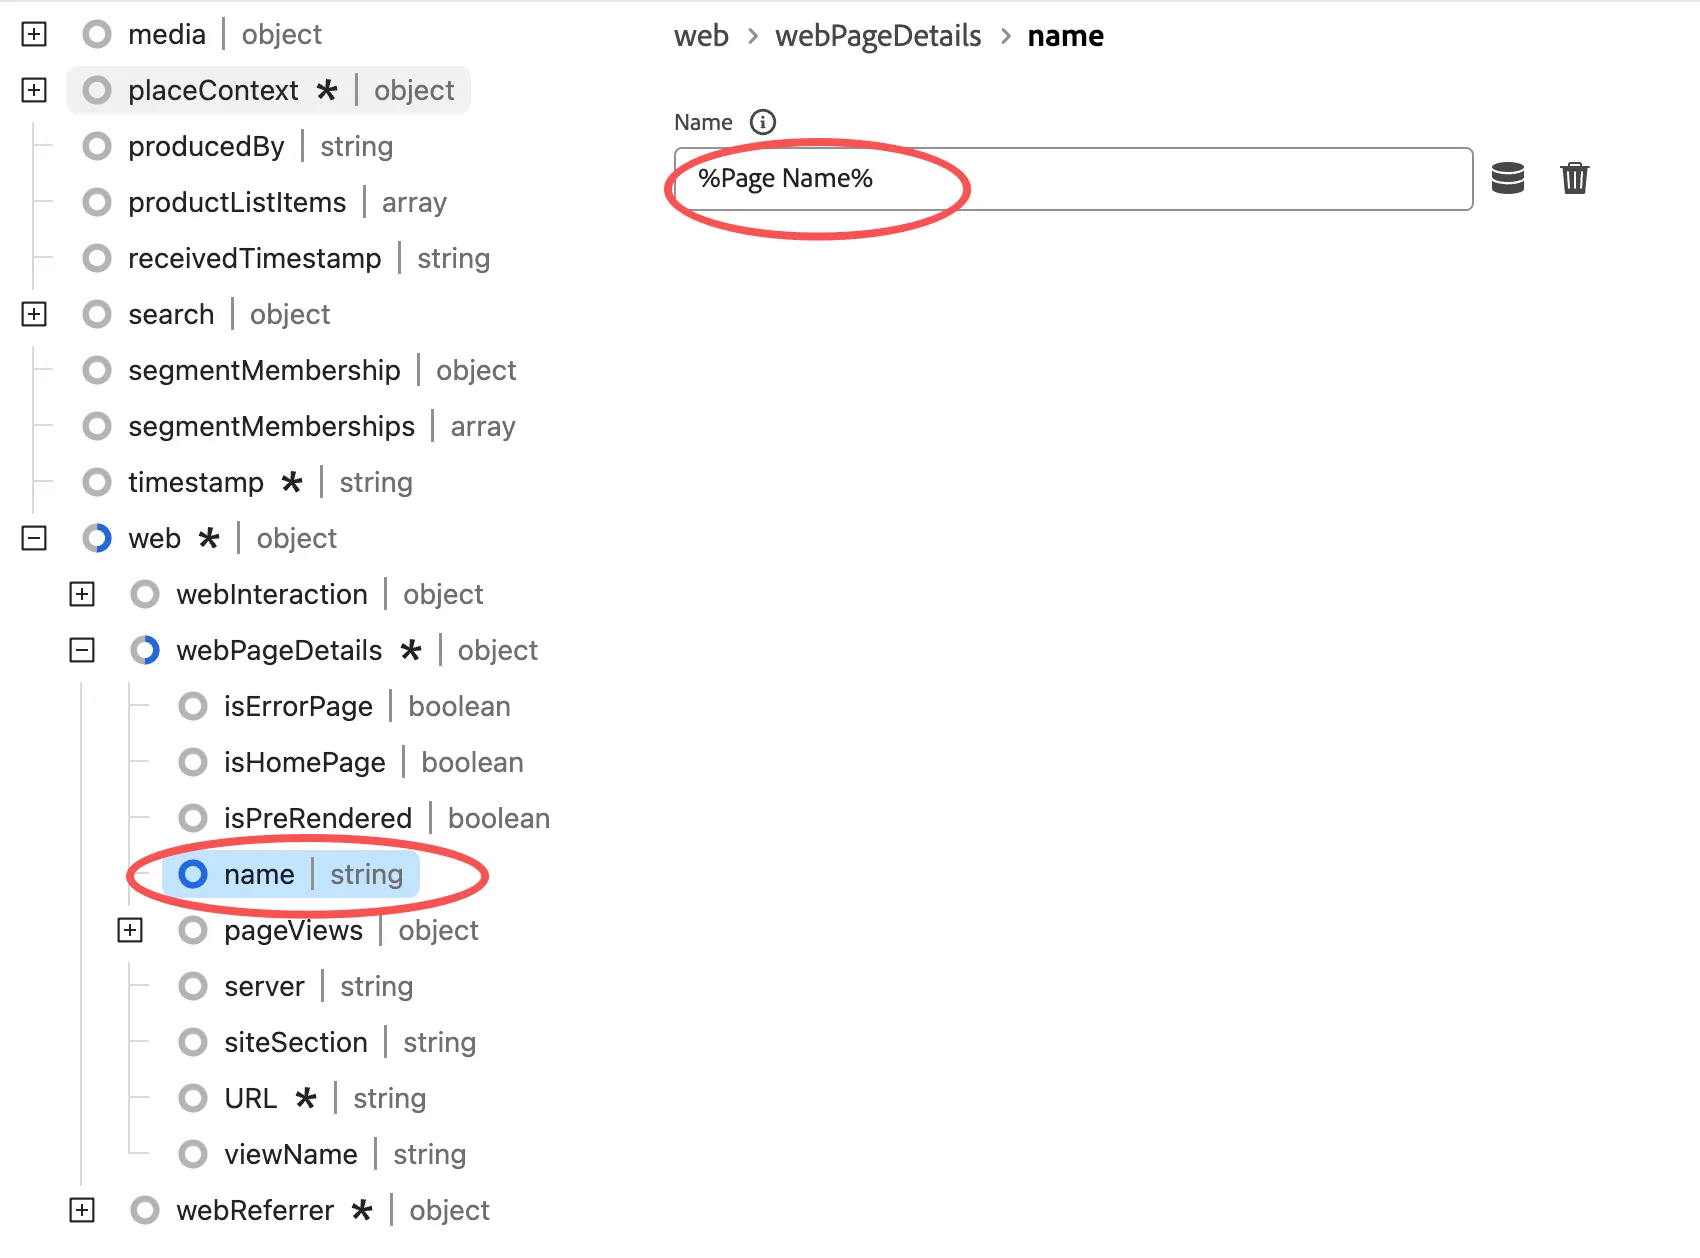
Other fields can be configured based on your business requirements.
Step 7:Configure Rules
Click 「Rules」——「Add Rule」,named “All Page Tracking—Custom Events”.
EVENTS
Configure EVENTS as follows:
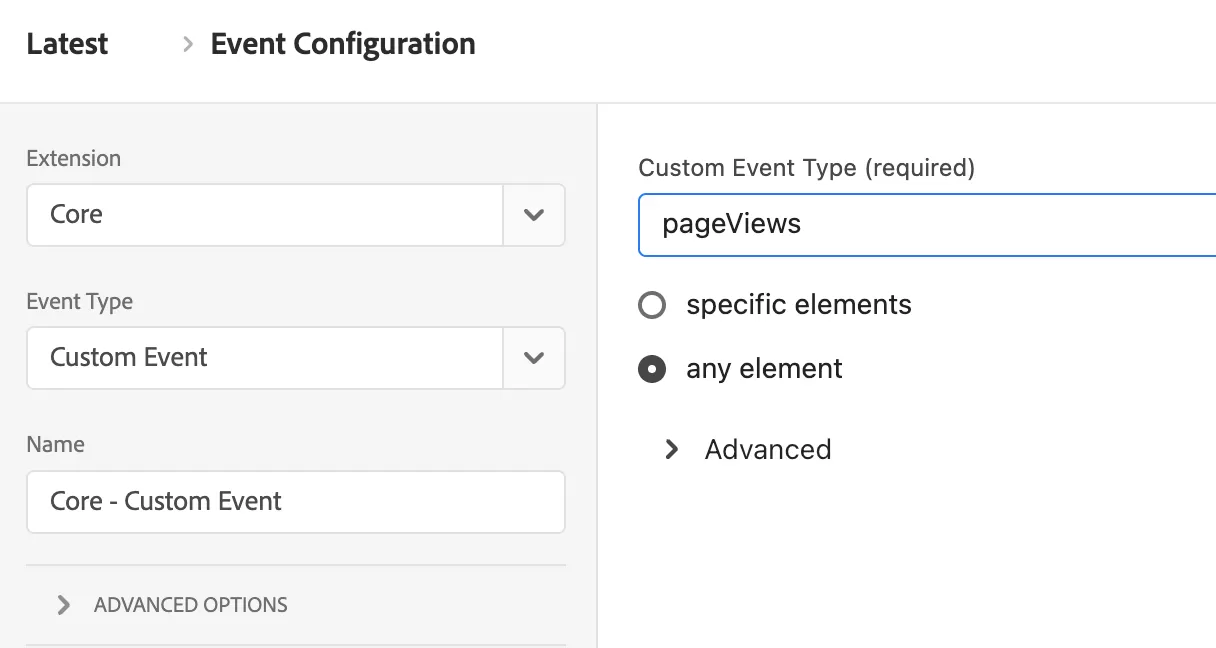
pageViews are the events sent in Step 5.
ACTION
The configuration in Action is:
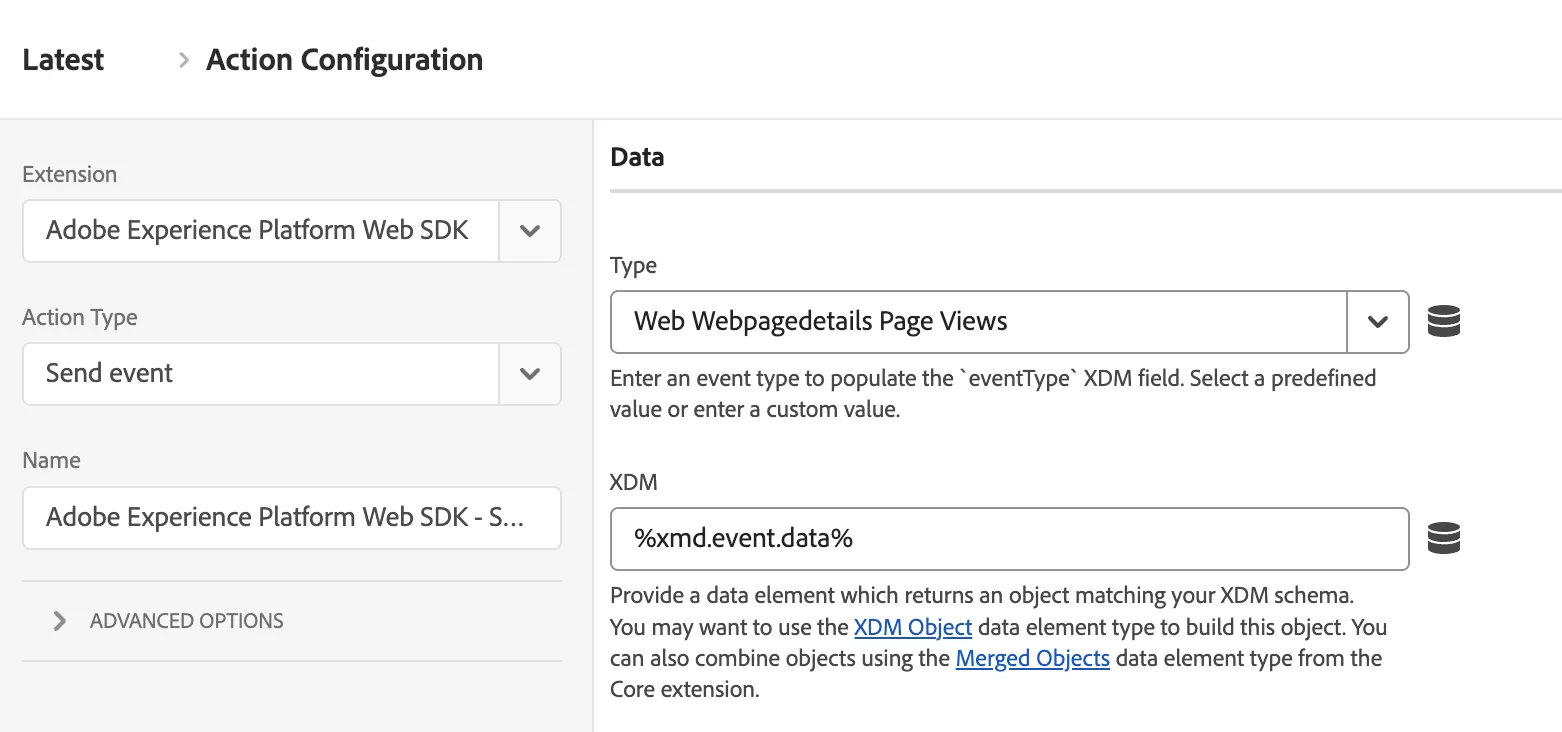
Type:web.webpagedetails.pageViews means tracking pageview.
XDM:data is the mapping relationship in data elements.
Final result: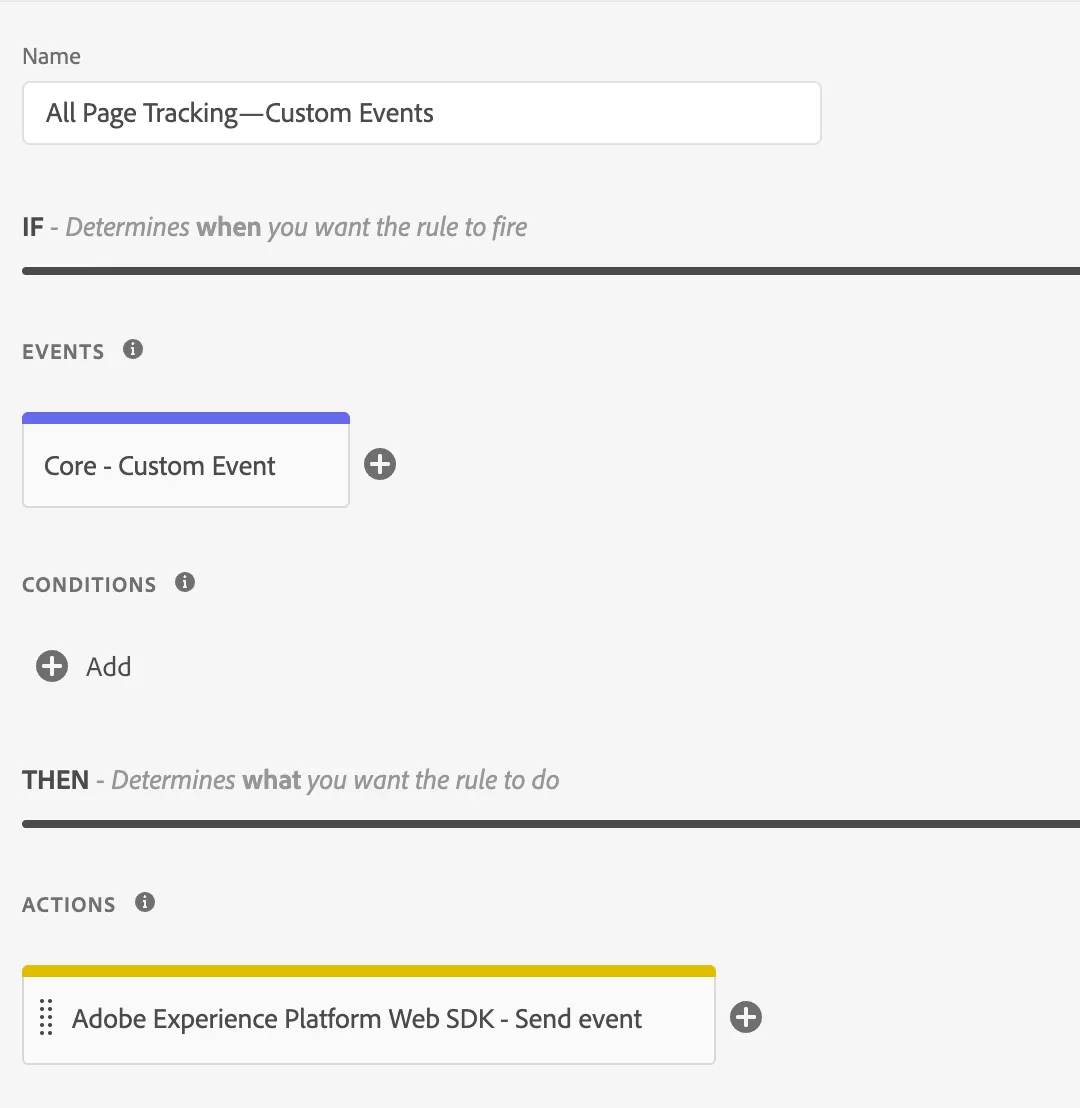
Step 8:Testing & Debugging
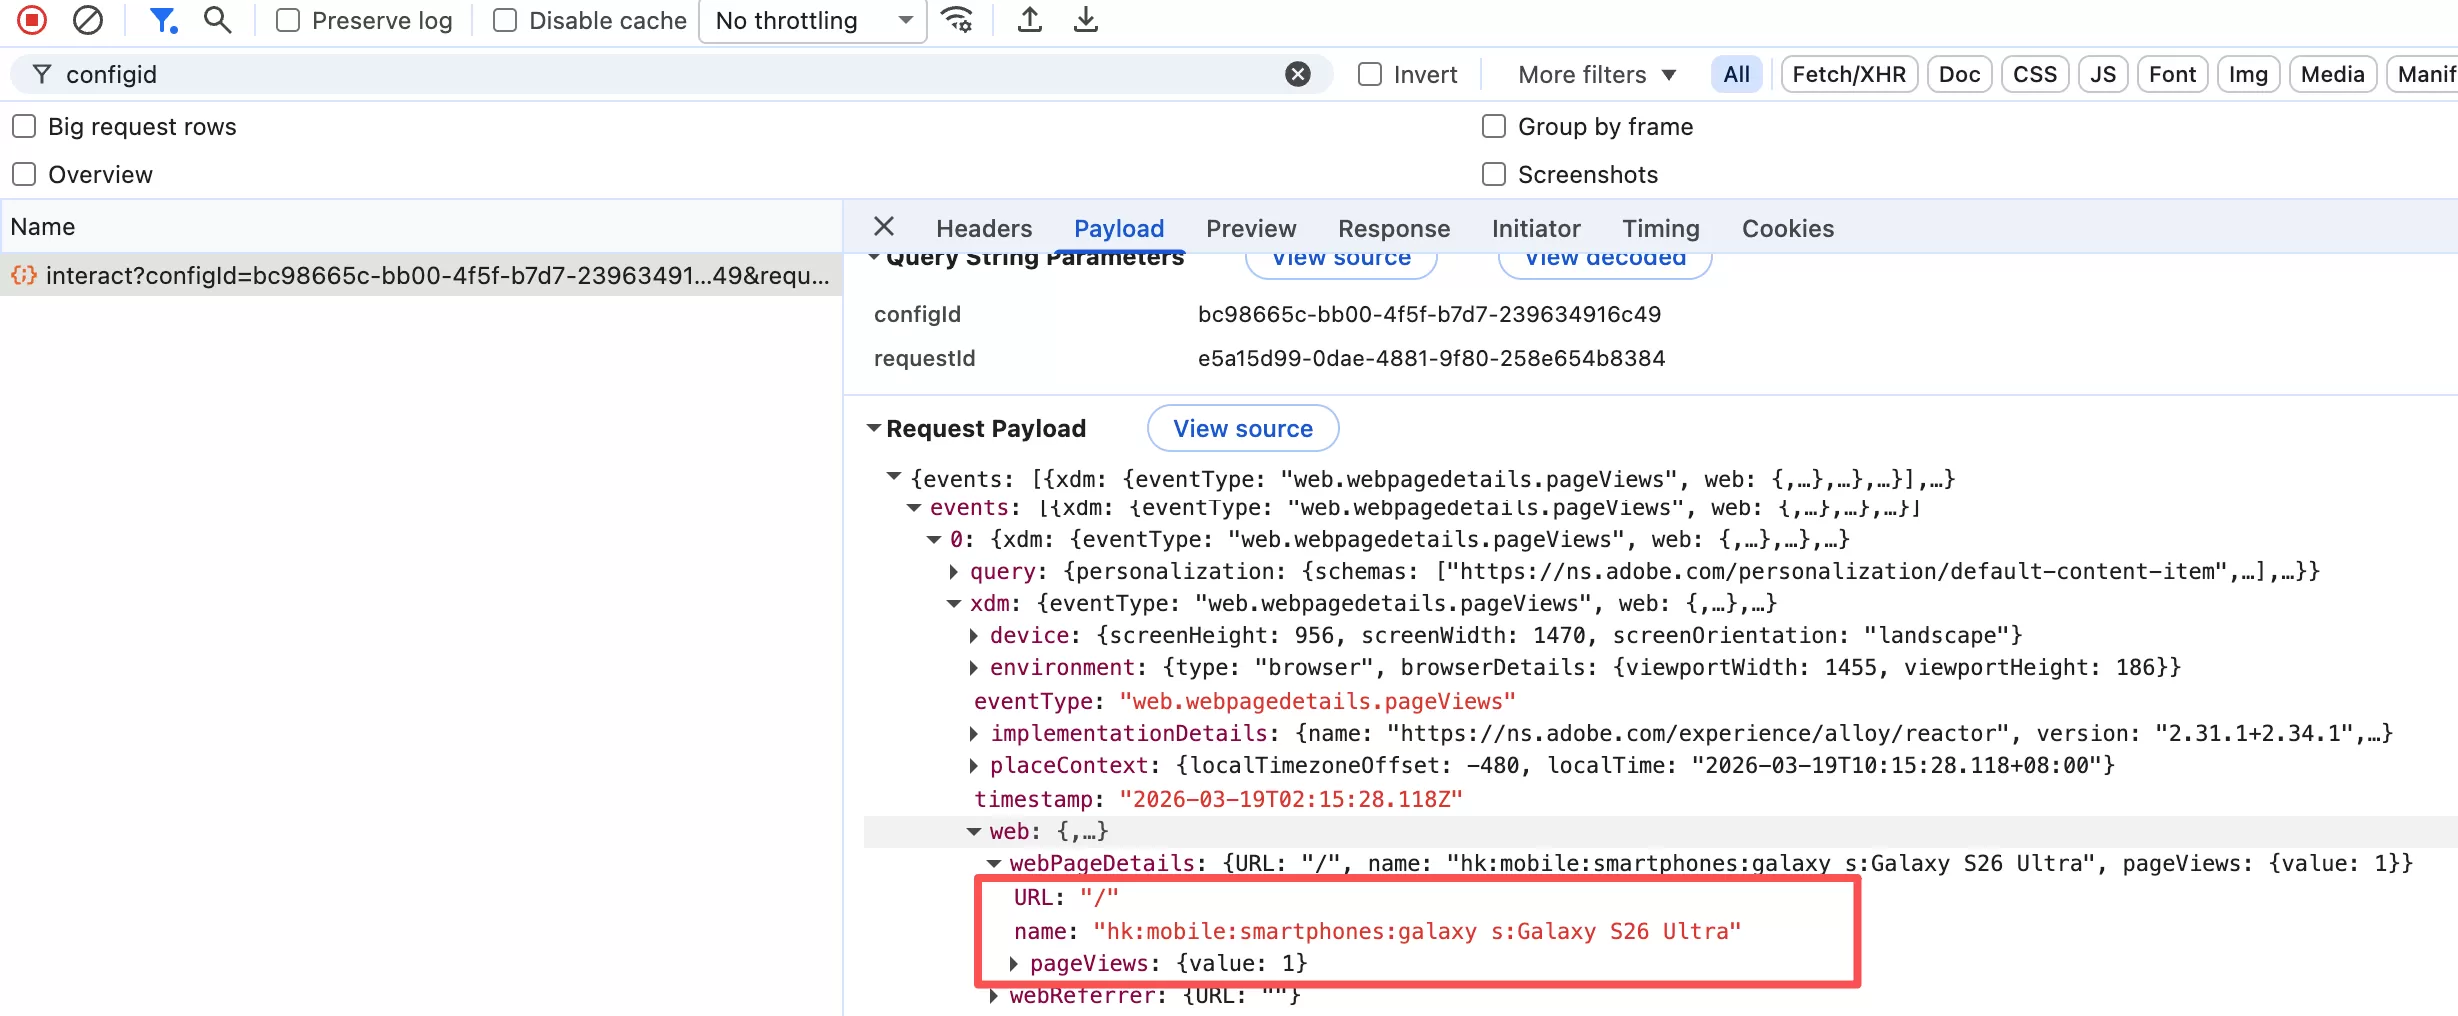
Open your browser’s Developer Tools and filter Network requests using “configId”

Click it, you can see a lot of information, and the configuration data can be found in xdm in events.
Step 9:Validate in Adobe Analytics
Go to Adobe Analytics, Check Real-Time Reports.
If data appears, your implementation is working as expected and is ready to publish.